When we set up SQL Server Job, its is a very common requirement ‘need to get email notification once Job is failed’. It’s not difficult, just need few clicks in SQL Server Management Studio to implement this requirement.
Overview Steps
- Configure Database Mail.
- Set up SQL Server Agent Alert System .
- Create an Operator.
- Set up SQL Server job notifications
Configuring Database Mail
Open SQL Server Management Studio (SSMS), expand Management and right-click on Database Mail and then click Configure Database Mail.


Select “Set up Database Mail by performing the following tasks” and Click Next.
Click Yes and then click Next if mail hasn’t been configured yet.
Give the New Profile a name and then click Add.

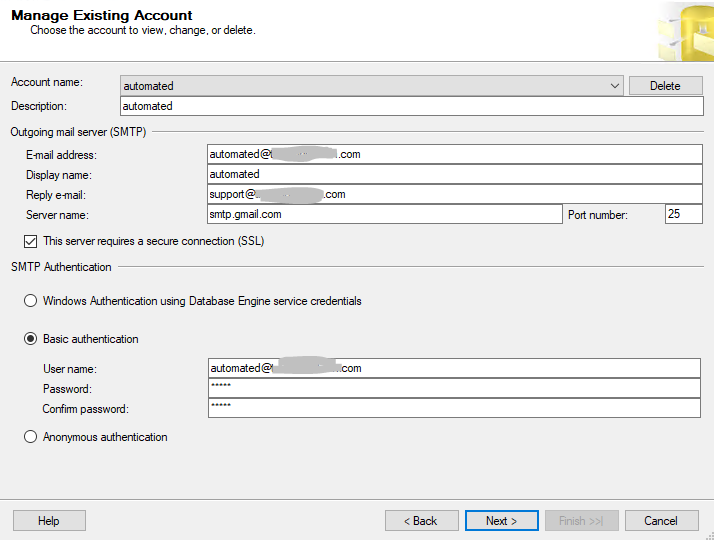
Fill in the correct SMTP information as below
click Next

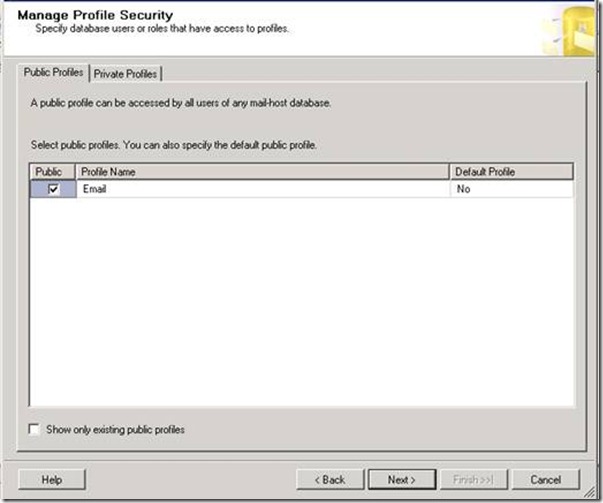
Check the option to make the new profile Public. If the profile isn’t set to Public
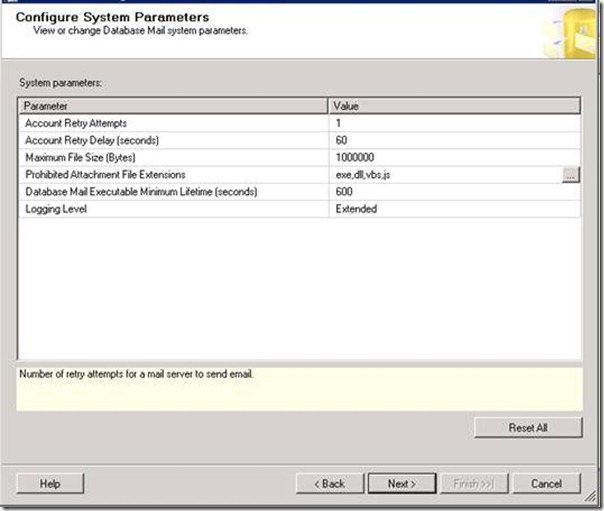
Review the System Parameters , please keep the default settings if your are not sure how to adjust them. Click Next and Finish the Mail set up.
You should see that each Action was completed and has a Status of Success. Click Close.

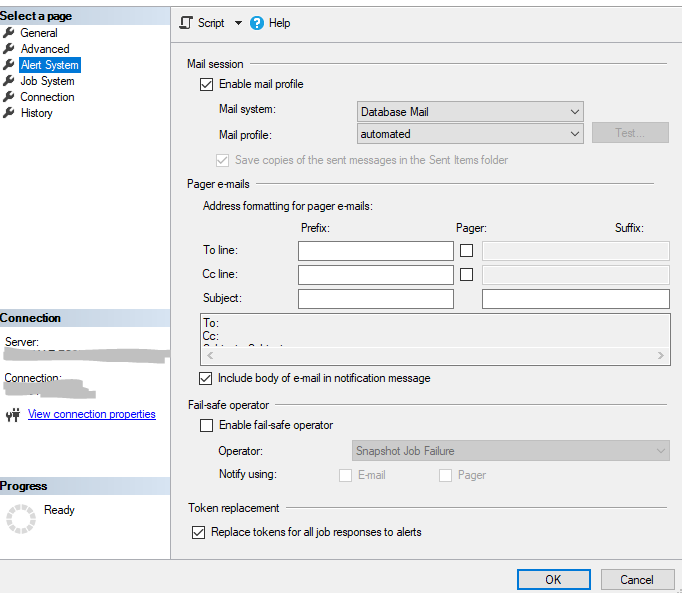
Set up SQL Server Agent Alert System
Right-click SQL Server Agent and select Properties.

Click on Alert System
· Under Mail session, select the option to Enable mail profile. Ensure the correct Mail profile is selected.
· Under Token replacement, enable Replace tokens for all job responses to alerts.
Click OK. Restart the SQL Server Agent service.
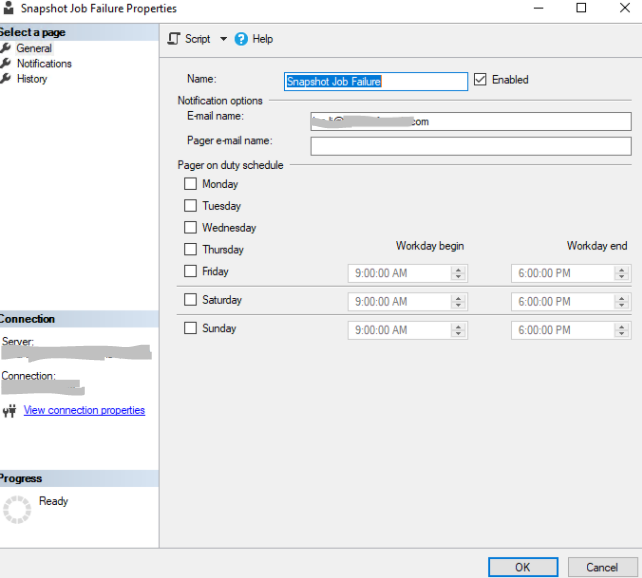
Create an Operator
Under the SQL Server Agent, right-click Operators and select New Operator…

Type in the recipient email address in the E-mail name and click OK.
Set up SQL Server job notifications
Expand SQL Server Agent and click on Jobs. Find the job you want to change, right click it and select Properties.
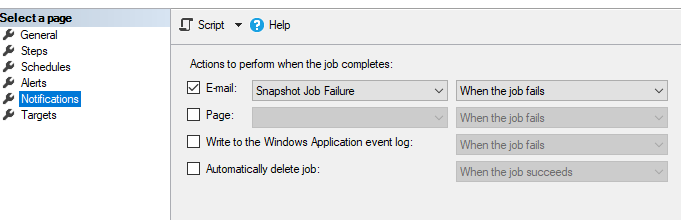
Under Select a page, select Notifications. Enable the first option, E-mail. Then select the Operator we just created and change the job to email When the job fails. Click OK.